Congratulations on switching to reciProfity! You're just a few steps away from lower food costs and easier inventory management.
Introduction
Migrating your data from ChefTec to reciProfity involves these four basic steps and requires you to have a currently active ChefTec license on this computer and an activated reciProfity trial or subscription:
- Install the demo version of CostGuard, our desktop food costing software, which acts as a bridge between ChefTec and reciProfity.
- Import your data from ChefTec to CostGuard.
- Export your data from CostGuard.
- Import your data to reciProfity.
** As we no longer support CostGuard the results are as good as we can do, but not guaranteed. We are unable to make any changes to the conversion process.
Before getting started, please see these notes about how your data will look after the conversion.
The conversion process is really simple, but it can take some time to run depending on how much data you're importing. If you have a couple hundred ingredients and recipes, it will take several minutes. If you've got a thousand or more items and/or recipes, the conversion can take an hour or longer. Don't worry, most of that time is spent on passive data transfer so you can do other things while you're waiting.
Step One
Installing the CostGuard demo version
1. Download the trial version of CostGuard here.
2. Install and run the program.
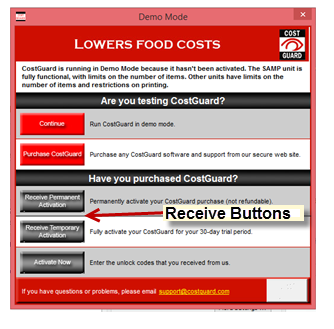
3. Click "Receive Temporary Activation" and check your email for the activation codes.
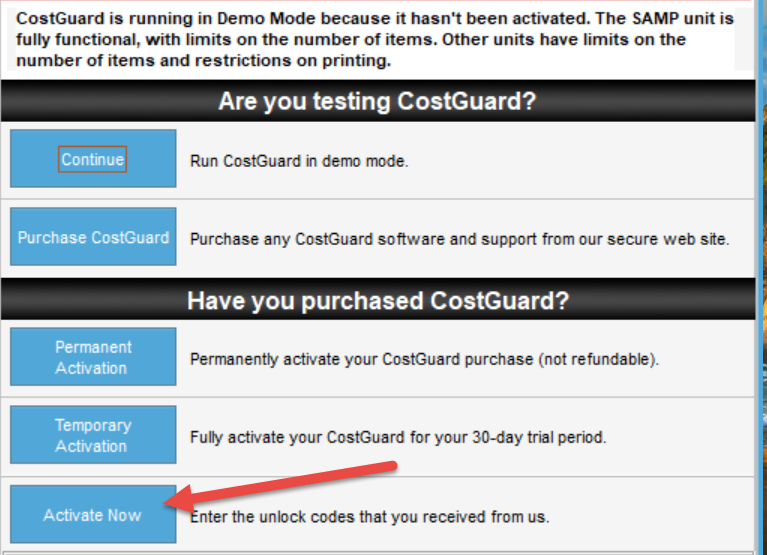
4. When you receive an email from us with your activation codes, click Activate Now.
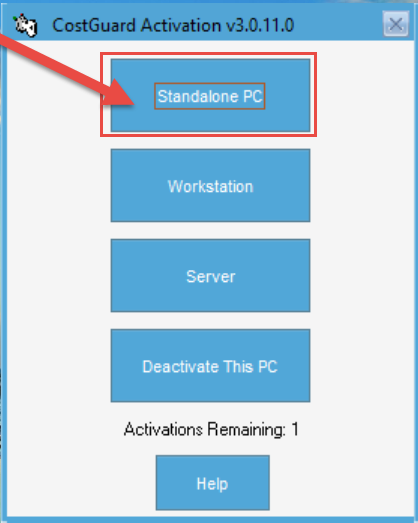
5. Choose Standalone PC.
6. Enter the activation codes from the email you’ve received from us.
Step 2
Importing from ChefTec to CostGuard
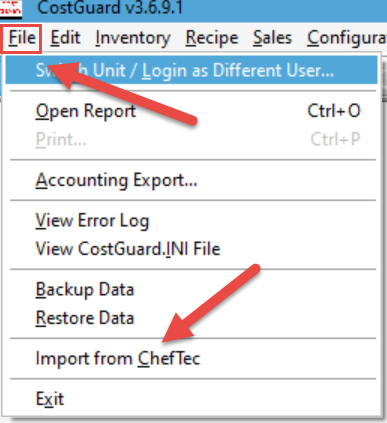
1. In the CostGuard demo version, click File > Import from ChefTec:
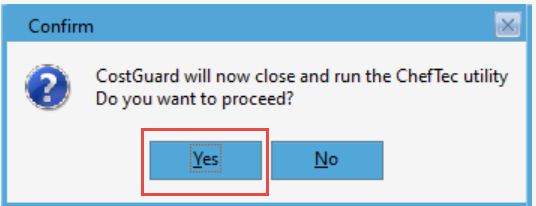
2. Click Yes to confirm:
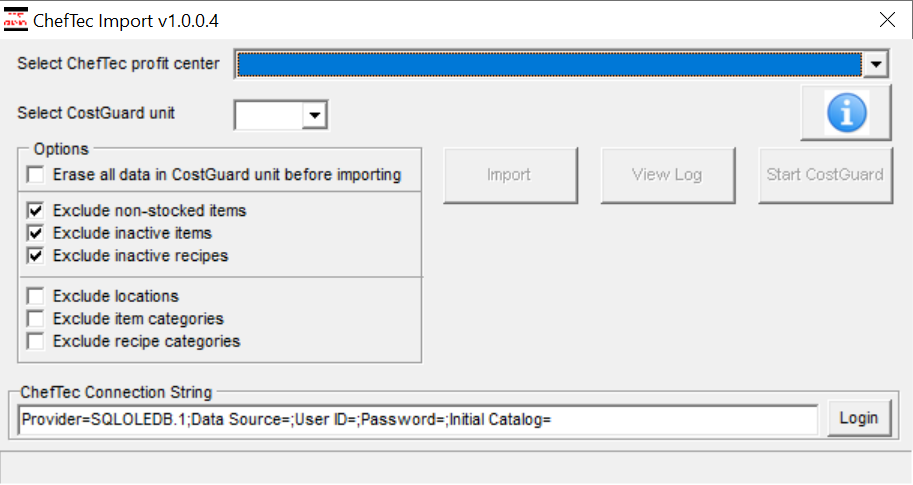
3. Choose the following:
- The file you want to import
- The CostGuard Unit to import into (leave as default if unsure)
- Your options (this is your opportunity to remove some clutter from your data).
- Click "Import" when you're done.
4. It can take some time to import all the data, and green checkmarks will appear as the process progresses.
Step 3
Exporting from CostGuard
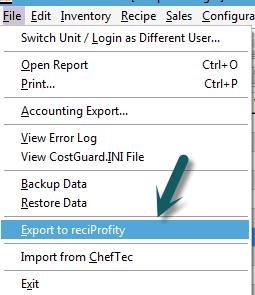
1. From CostGuard, click File > Export to reciProfity
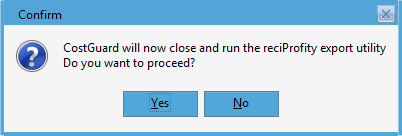
2. Click yes to the next prompt; it will close CostGuard and start the conversion utility:
3. Click ‘Run’ if you get a security warning like this:

4. Select the unit you want to convert (this is the same unit you selected in step 4 of the ChefTec to CostGuard import), then select the destination of the export file. It doesn’t really matter which folder you select, as long as you remember where it is.
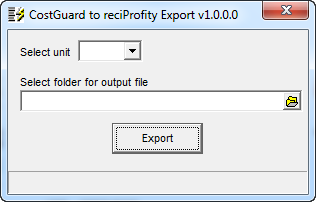
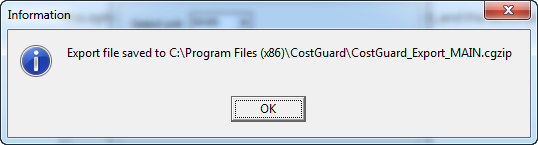
5. When you’re all set, click Export. After a few seconds, you should get a confirmation like this:
Step 4
Importing to reciProfity
1. Now sign in to reciProfity
2. Click the gear > Setup > CostGuard Import: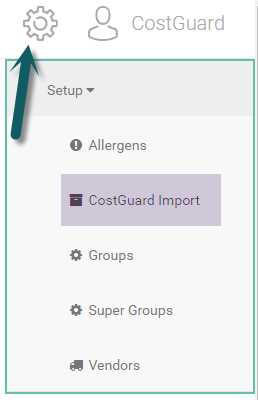
3. Here's where you choose which data to import into reciProfity:
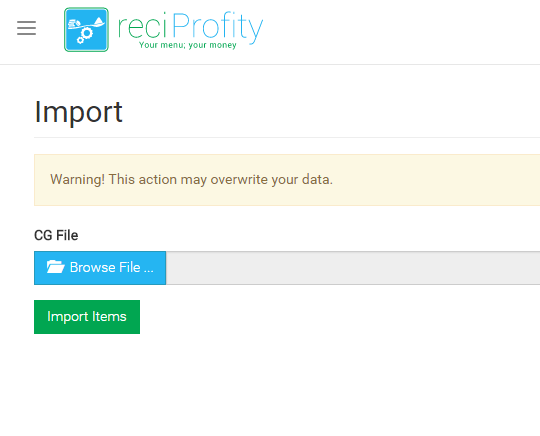
4. Click  and select the location/file name of the data that you exported from CostGuard in the previous step (if you exported your Main unit in CostGuard, the file name is CostGuard_Export_MAIN.cgzip).
5. Find the file, select it, and click  .
.
6. You will see a series of progress bars; first for inventory items, then for recipes.
7. When the entire import is completed, reciProfity will open, and another progress bar will indicate that all your recipes are being repriced.
That’s it! You’re all set. If you have any issues or questions, please contact support@reciProfity.com.
Notes:
IF YOU RECEIVE AN ERROR MESSAGE, please sit tight. We will have a copy of your exported data, and will look at the problem. We'll do our best to get back to you quickly.
You can ignore any timeout messages.
In fact, you can even close the app during the import. The process will continue in the background and the imported items will appear when you restart reciProfity.